Build your own kernel
Don't be afraid, building your kernel is easy!
Usually, stable kernels are easy to build. You can build your own kernel in 5 simple steps.
In some cases, for example:
- When the current Kernel doesn't support your hardware. (e.g. Wi-Fi, Bluetooth, sound, etc.)
- When you need to add a new feature to the Kernel.
- When you need to remove some Kernel features to reduce the Kernel size.
- When you want to have better performance by optimizing the Kernel for your hardware.
- When you want to learn how the Kernel works.
You may need to build your own Kernel.
You don't have to build because you can download it from Caonnical.
You don't have to build your own Kernel because Canonical provides the latest Kernel for Ubuntu. You can install the latest Kernel using the following command.
sudo apt search linux-generic-hwe-* | awk -F'/' '/linux-generic-hwe-/ {print $1}' | sort | head -n 1 | xargs -r sudo apt install -y
sudo reboot
However, if the Kernel from Canonical doesn't work for you, you can build your own Kernel.
Here are 5 simple steps to build your own Kernel:
- Get the Kernel source code
- Install the required tools
- Configure the Kernel
- Build the Kernel
- Install the Kernel
Step 1 - Get the Kernel source code
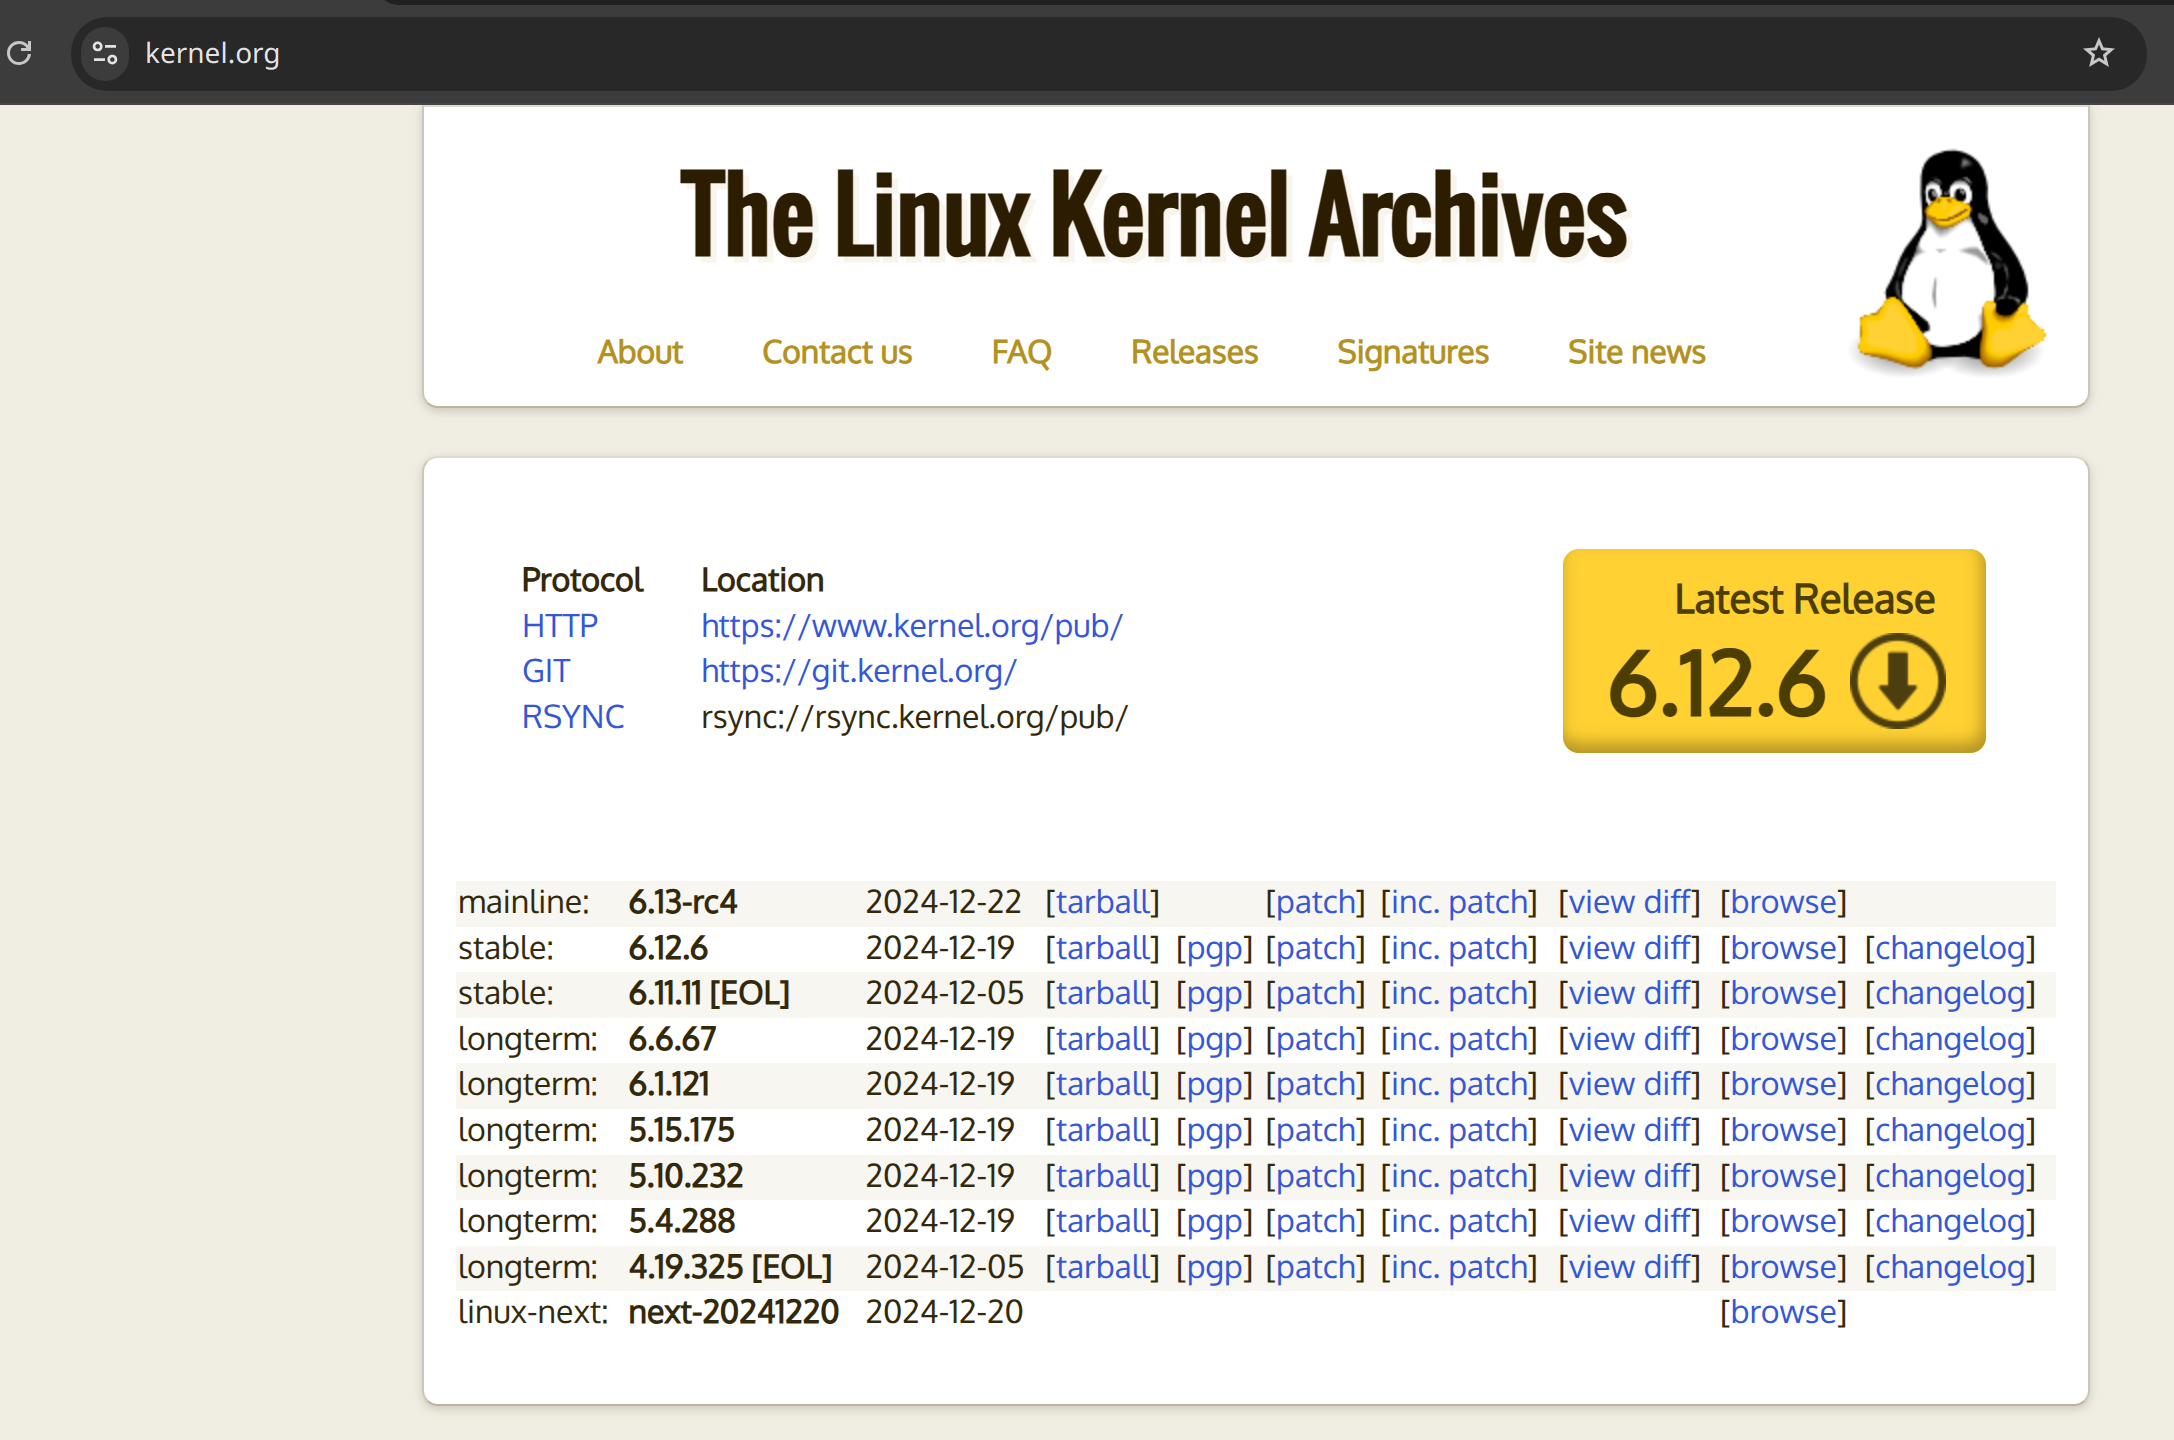
First, you need to get the Kernel source code. You can get the Kernel source code from the https://www.kernel.org/ website.

Option 1: Download the Kernel source code from the website
Directly download the Kernel source code from the website. Click the tarball link to download the Kernel source code.
Here I'm downloading the Kernel version 6.13-rc4 (xz) as an example.
link=https://git.kernel.org/torvalds/t/linux-6.13-rc4.tar.xz
wget $link -O linux-6.13-rc4.tar.xz
tar -xJvf ./linux-6.13-rc4.tar.xz
If the tarball is a gz compressed file, you can use the following command to extract the tarball.
tar -zxvf ./linux-6.13-rc4.tar.gz
This might not be the latest version of the Kernel!
Option 2: Clone the Kernel source code from the Git repository
You can also clone the Kernel source code from the Git repository.
sudo apt install -y git
git clone https://git.kernel.org/pub/scm/linux/kernel/git/torvalds/linux.git
The latest Tovralds' Kernel may not be able to build!
The latest tovralds Kernel may not be stable. It is better to download a stable version of the Kernel.
Step 2 - Install the required tools
You need to install some tools to build the Kernel.
sudo apt-get update
sudo apt-get install -y \
  bc \
  bison \
  build-essential \
  ccache \
  clang \
  cpio \
  dwarves \
  flex \
  gawk \
  gcc \
  git \
  gzip \
  libcap-dev \
  libelf-dev \
  liblz4-dev \
  libncurses-dev \
  libssl-dev \
  libudev-dev \
  libzstd-dev \
  lz4 \
  python3 \
  python3-dev \
  python3-distutils-extra \
  python3-setuptools \
  xz-utils \
  zstd
Not all of these tools are required to build the Kernel. But it's better to install them to avoid any issues.
Step 3 - Configure the Kernel
Change directory to the Kernel source code directory.
cd ./linux-6.13-rc4
Now, you need to configure the Kernel. You can use the current Kernel configuration as the base configuration.
sudo cp /boot/config-$(uname -r) .config
If the kernel you are building is a newer version than the one you are currently using, you need to update the configuration.
Run either of the following commands to update the configuration:
# Automatically migrate old configurations to the new kernel version
make olddefconfig
# Or: Manually update the configuration
make oldconfig
Review the configuration
It is also suggested to review the configuration to make sure it is correct.
make menuconfig
Disable Canonical's signing key
You need to disable Canonical's signing key because that file is not available on your system.
vim .config
Search for:
CONFIG_SYSTEM_TRUSTED_KEYSCONFIG_SYSTEM_REVOCATION_KEYS
Comment out those lines.
#CONFIG_SYSTEM_TRUSTED_KEYS="debian/canonical-certs.pem"
#CONFIG_SYSTEM_REVOCATION_KEYS="debian/canonical-revoked-certs.pem"
And press ECS and :wq to save the file.
It's optional to disable some features for best performance
You can disable some features to get the best performance. For example, you can disable debugging features, unnecessary drivers, etc.
# Disable most debugging features
CONFIG_DEBUG_KERNEL=n
CONFIG_DEBUG_MISC=n
CONFIG_DEBUG_FS=n

# Disable generation of additional debug info
CONFIG_DEBUG_INFO=n
CONFIG_DEBUG_INFO_DWARF4=n

# Disable function tracing
CONFIG_FTRACE=n
CONFIG_FUNCTION_TRACER=n
CONFIG_FUNCTION_GRAPH_TRACER=n

# Disable kcov coverage
CONFIG_KCOV=n

# Disable stack protector options if security is not a concern on your build
CONFIG_CC_STACKPROTECTOR_NONE=y
# CONFIG_CC_STACKPROTECTOR is not set
# CONFIG_CC_STACKPROTECTOR_STRONG is not set

# Disable System Request debugging
CONFIG_MAGIC_SYSRQ=n

# Disable profiling
CONFIG_PROFILING=n
CONFIG_OPROFILE=n
Step 4 - Build the Kernel
Now, you can build the Kernel.
make clean
make -j$(nproc)
Building the Kernel with only part of the CPU cores
In some cases, you may want to build the Kernel using only part of the CPU cores. You can use the taskset command to specify the CPU cores to use.
taskset -c 0-7 make -j8
Building the kernel takes around 20 minutes to 2 hours!
Various factors can affect the build time, such as the number of CPU cores, the CPU speed, the amount of RAM, and the disk speed. Building the Kernel using all the available CPU cores will reduce the build time.
This command will build the Kernel using all the available CPU cores.
What if the build fails?
If the build fails, you need to fix the issue and run the make command again.
To know what the exact issue is, you can rebuild with a single thread and verbose mode.
make -j1 V=1
After building, the Kernel image will be available in the ./arch/x86/boot/bzImage directory. And the modules will be available in the ./modules directory. You can install the Kernel and the modules using the following steps.
Step 5 - Install the Kernel
Now, you can install the Kernel.
sudo make modules_install
sudo make install
This command will install the Kernel and the modules.
That's it! You have successfully built and installed your own Kernel. Now, you can reboot your system to use the new Kernel.
sudo reboot
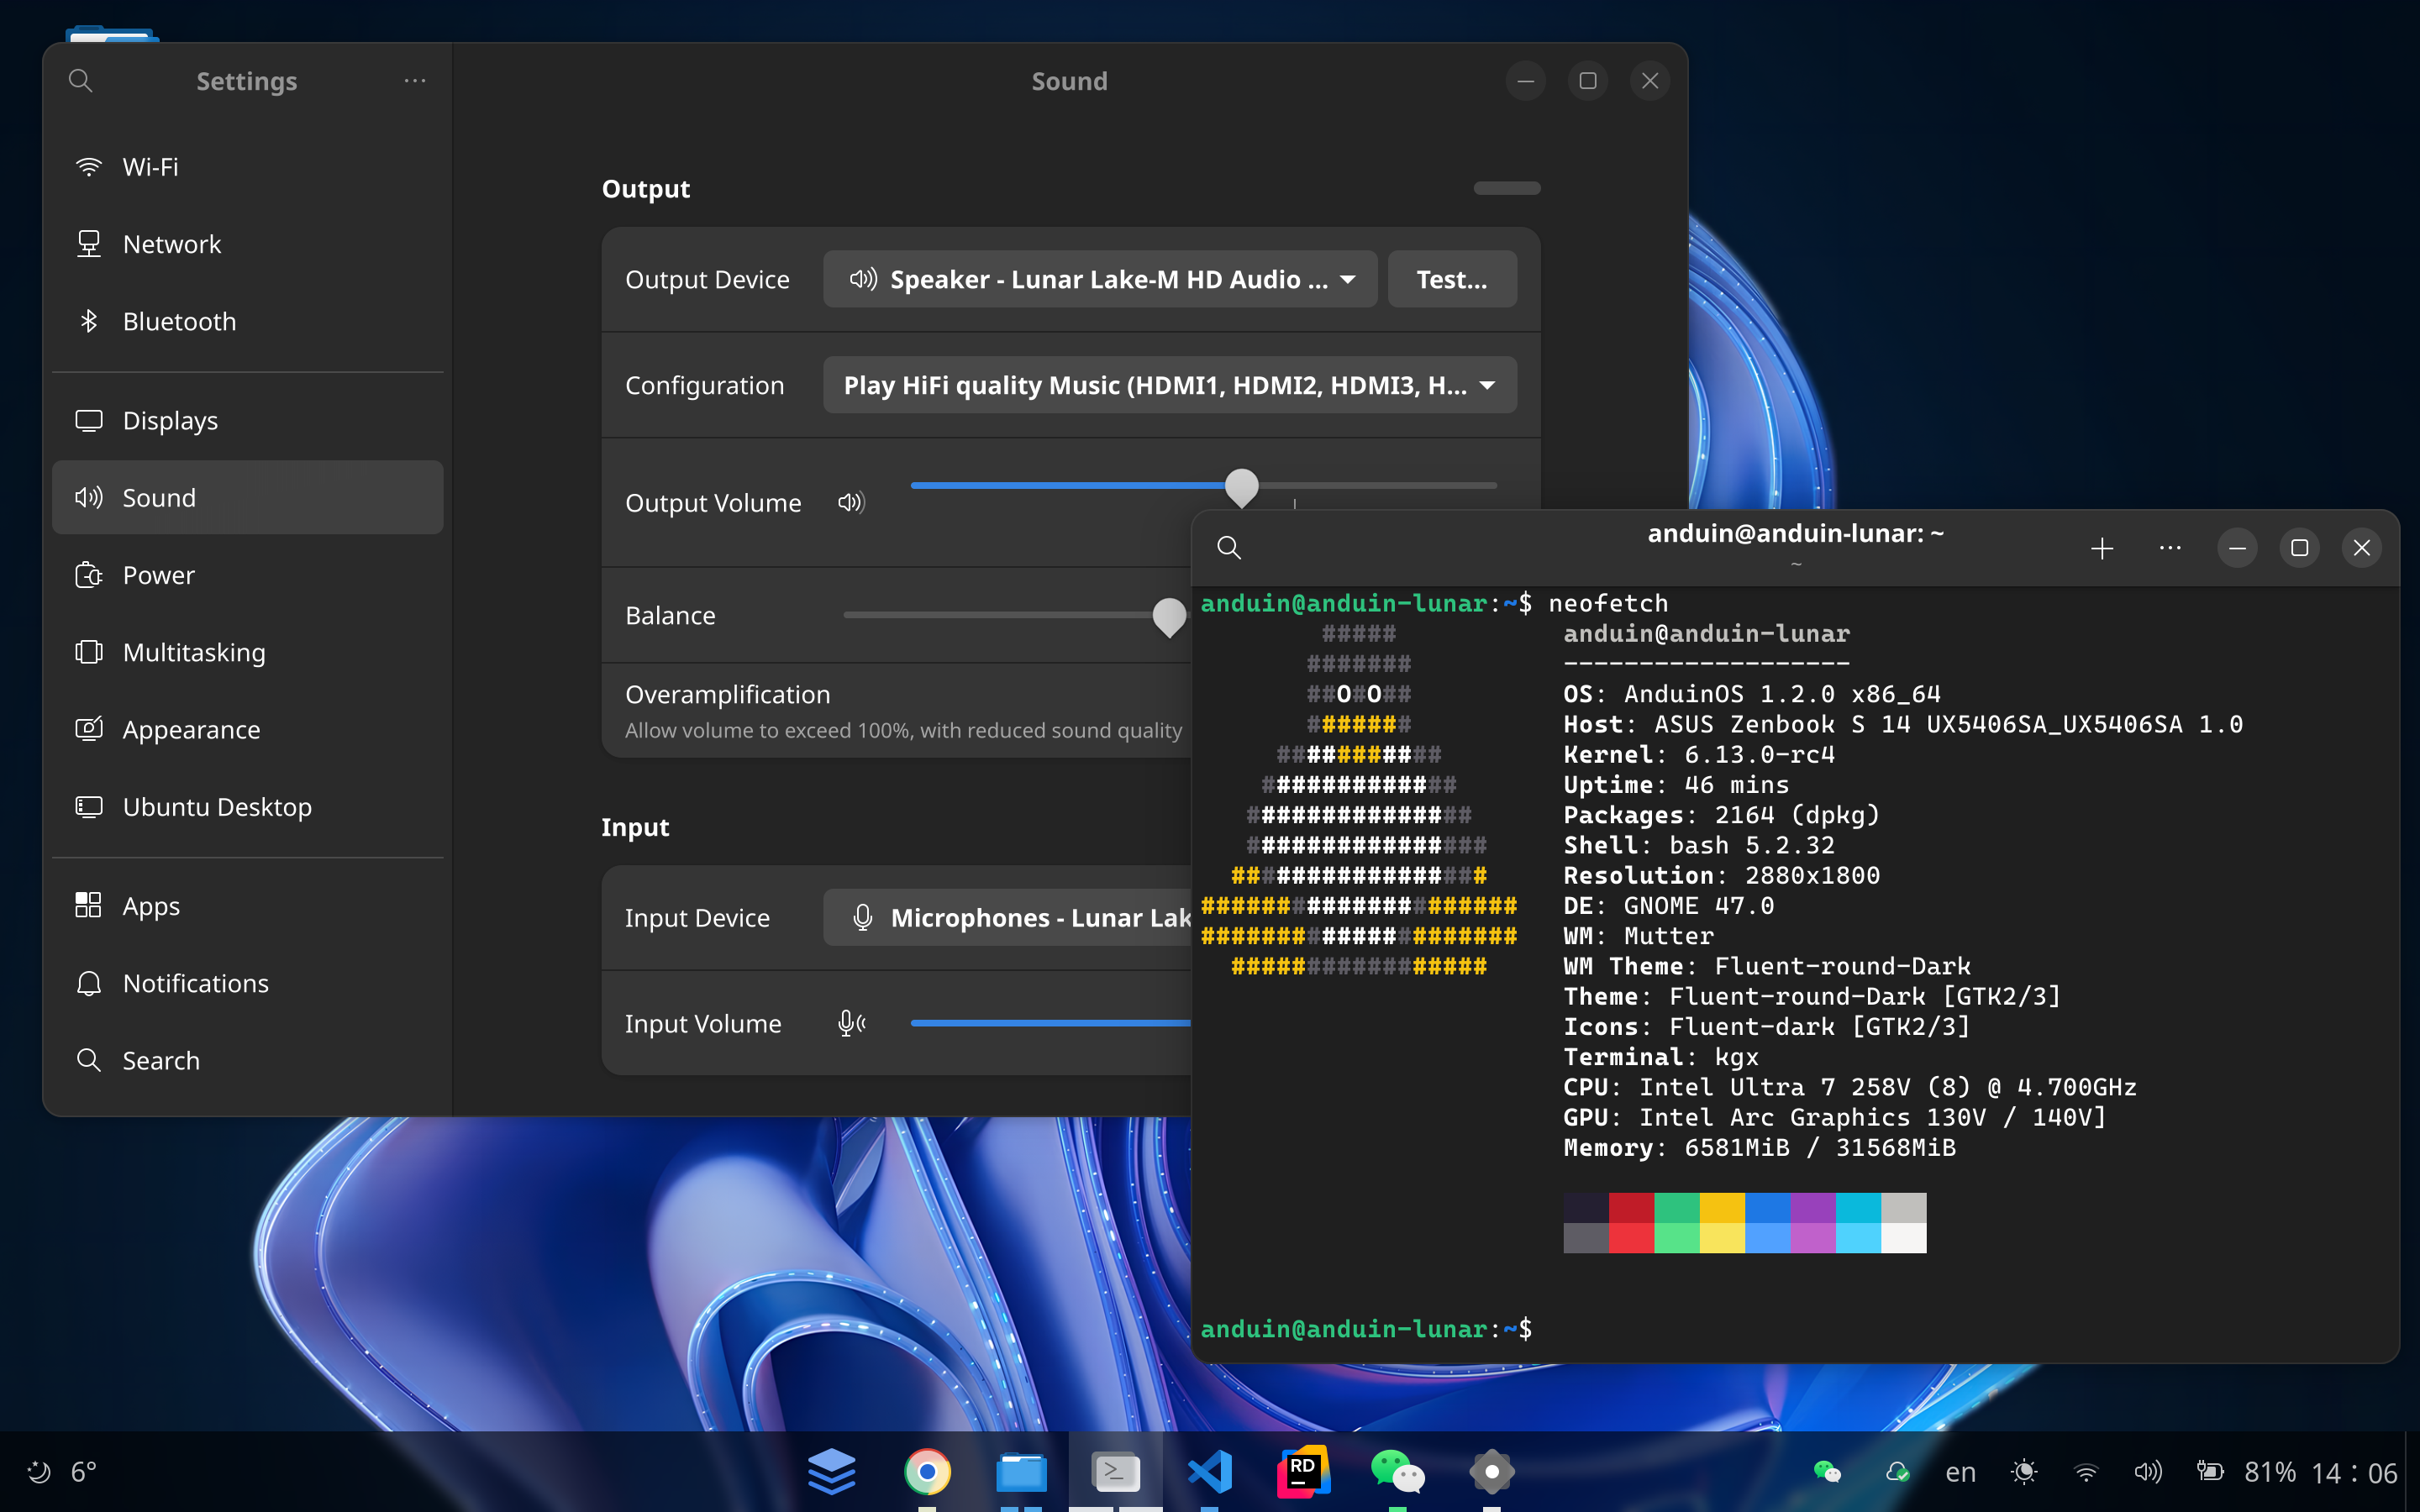
After rebooting, you can check the Kernel version using the following command:
uname -r

Step 6 - Sign the Kernel (Optional, only for Secure Boot)
To use your custom kernel with Secure Boot enabled, you need to sign the kernel and its modules using your own keys and enroll them with MokManager.
1. Generate a Self-Signed Certificate
First, create a private key and a self-signed certificate.
mkdir ~/my-keys
cd ~/my-keys
openssl req -new -newkey rsa:2048 -days 36500 -nodes -keyout MOK.key -out MOK.csr
openssl x509 -req -in MOK.csr -signkey MOK.key -out MOK.crt
openssl x509 -in MOK.crt -outform DER -out MOK.der
2. Enroll the Certificate with MokManager
Add your certificate to the Machine Owner Key (MOK) list.
sudo mokutil --import MOK.der
You will be prompted to create a password. Remember this password, as you will need it during the next reboot.
3. Reboot and Enroll the Key
Reboot your system. During the boot process, the MokManager interface will appear.
- Select "Enroll MOK".
- Choose "Continue".
- Enter the password you set earlier.
- Confirm to enroll the key and reboot.
To verify if the key is enrolled, run the following command:
sudo mokutil --list-enrolled
4. Sign the Kernel Image
After enrolling the key, sign your compiled kernel image. Change directory to the Kernel source code directory.
Sign the kernel image.
sudo sbsign --key ~/my-keys/MOK.key --cert ~/my-keys/MOK.crt /boot/vmlinuz-[KERNEL-VERSION] --output /boot/vmlinuz-[KERNEL-VERSION].signed
Then replace the original kernel image with the signed one.
sudo mv /boot/vmlinuz-[KERNEL-VERSION] ~/kernel-backup
sudo mv /boot/vmlinuz-[KERNEL-VERSION].signed /boot/vmlinuz-[KERNEL-VERSION]
To verify if the kernel image is signed, run the following command:
sudo apt install -y pesign
sudo pesign -S -i /boot/vmlinuz-[KERNEL-VERSION]
5. Sign Kernel Modules
Similarly, sign all necessary kernel modules.
#!/bin/bash
# filepath: sign-kernel-modules.sh

# Replace with your actual new kernel version
NEW_KERNEL_VERSION="6.13-rc4"  # Change this to match your kernel version!

cd ./linux-6.13-rc4  # Change to the Kernel source code directory

# Create a temporary directory for decompression
TEMP_DIR=$(mktemp -d)
echo "Using temporary directory: $TEMP_DIR"

# Process compressed (.ko.zst) modules
echo "Processing compressed modules (.ko.zst)..."
for module in $(find /lib/modules/${NEW_KERNEL_VERSION}/kernel/ -type f -name "*.ko.zst"); do
    echo "Found compressed module: $module"

    # Extract the module filename without path
    module_name=$(basename "$module")

    # Decompress to temporary location
    echo "Decompressing $module_name to $TEMP_DIR"
    zstd -d "$module" -o "${TEMP_DIR}/${module_name%.zst}"

    # Sign the decompressed module
    echo "Signing ${TEMP_DIR}/${module_name%.zst}"
    sudo ./scripts/sign-file sha256 ~/my-keys/MOK.key ~/my-keys/MOK.crt "${TEMP_DIR}/${module_name%.zst}"
    if [ $? -ne 0 ]; then
        echo "Failed to sign ${module_name%.zst}"
        continue
    fi

    # Recompress the signed module
    echo "Recompressing ${module_name%.zst}"
    sudo zstd -19 "${TEMP_DIR}/${module_name%.zst}" -o "$module" --rm

    echo "Successfully processed $module_name"
    echo "----------------------------------------"
done

# Process any uncompressed (.ko) modules that might exist
echo "Processing uncompressed modules (.ko)..."
for module in $(find /lib/modules/${NEW_KERNEL_VERSION}/kernel/ -type f -name "*.ko"); do
    echo "Signing uncompressed module: $module"
    sudo ./scripts/sign-file sha256 ~/my-keys/MOK.key ~/my-keys/MOK.crt "$module"
    if [ $? -ne 0 ]; then
        echo "Failed to sign $module"
        continue
    fi
    echo "Successfully signed $module"
    echo "----------------------------------------"
done

# Clean up
rm -rf "$TEMP_DIR"
echo "Finished signing all kernel modules"
After signing the kernel modules, you can verify if the modules are signed by running the following command:
modinfo -F signer /lib/modules/[KERNEL-VERSION]/kernel/drivers/[MODULE].ko
# For example:
# modinfo -F signer /lib/modules/6.13-rc4/kernel/arch/x86/crypto/aesni-intel.ko.zst
6. Update Bootloader
Ensure your bootloader is aware of the new kernel. Update GRUB if necessary.
sudo update-grub
By following these steps, your custom kernel and its modules are signed with your own keys and trusted by Secure Boot through MokManager. This allows you to securely use your custom kernel without disabling Secure Boot.
To verify if your kernel is signed and trusted by Secure Boot, run the following command:
sudo dmesg | grep -i 'cert'
sudo mokutil --sb-state
7. Install NVIDIA Drivers (Optional)
After building the Kernel, since NVIDIA drivers are out of the Kernel tree, you need to reinstall the NVIDIA drivers.
Please read the instructions in the Install NVIDIA Drivers guide.